How to Crisp Up Leftover Chicken Tenders and Fingers
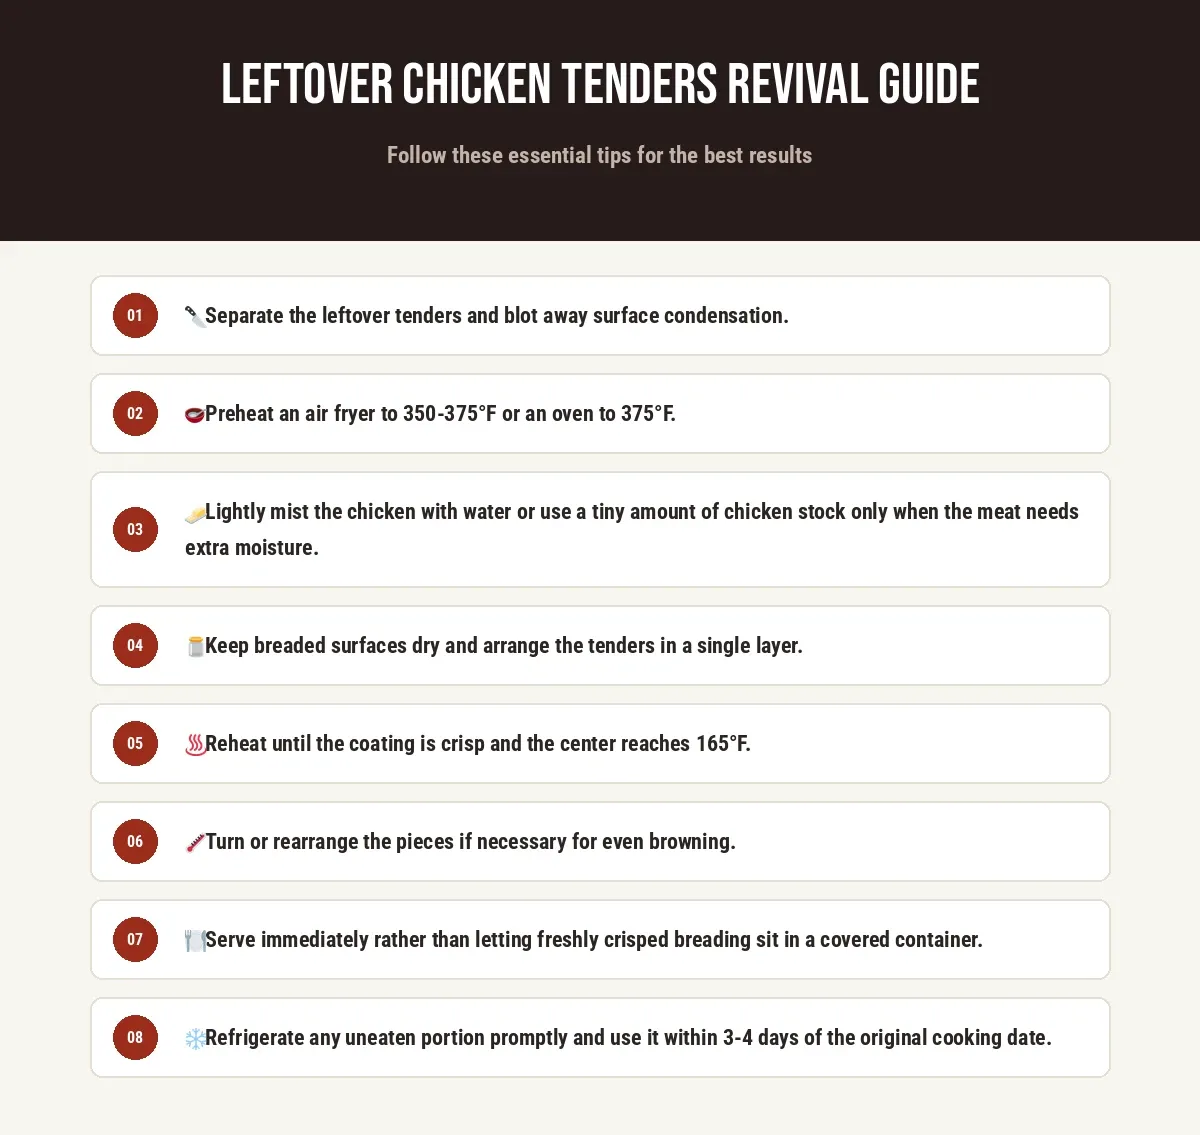
Leftover chicken tenders are easy to rescue if you reheat them with the same problem in mind: they have already been cooked once, so the goal is not to cook them again. It is to warm the center quickly while restoring enough moisture to the meat and keeping the breaded exterior crisp. The best method depends on whether you have one tender or a whole serving, but an oven or air fryer generally gives the best balance of juicy chicken and crisp breading.
Before reheating, take the tenders straight from the refrigerator and inspect them. Discard anything with an off smell, unusual sliminess, or questionable storage history. For properly stored leftovers, let the reheating method do the work rather than leaving the chicken sitting at room temperature for a long period.
Why Leftover Chicken Tenders Loses Its Texture?
Chicken tenders lose their original texture because reheating drives additional moisture out of the already-cooked muscle fibers. During the first cooking cycle, heat causes muscle proteins to contract and squeeze out some of their water. Refrigeration then firms the meat further, while the breading absorbs moisture migrating from the chicken and becomes less crisp.
A second long or high-heat cooking cycle compounds the problem. The chicken’s exterior gets hot before the center has warmed through, so continued heating can leave the meat dry and stringy. At the same time, trapped steam softens the breading from underneath. Microwave reheating is particularly prone to this because its moist environment does little to remove surface steam, producing chicken that may be hot but limp.
The revival strategy is therefore simple: minimize heating time, use a small amount of moisture only where it helps the meat, and expose the breading to dry, circulating heat at the end. For breaded tenders, that usually means a brief air-fryer or oven reheat rather than prolonged microwave heating.
Step-by-Step Revival: A 3-step Guide
Step 1: Prep
Remove the chicken tenders from their container and separate any pieces that are stuck together. If the breading has accumulated visible moisture, gently blot the surface with a paper towel. Do not scrape off the coating. Place the tenders in a single layer so hot air can reach as much of the breading as possible.
For very thick tenders, especially large restaurant-style pieces, let them sit for a few minutes while the oven or air fryer preheats. Avoid bringing them fully to room temperature; the objective is simply to remove surface condensation and prevent cold, tightly packed pieces from reheating unevenly.
Step 2: Moisture
Use a very small amount of chicken stock or water to protect the meat without wetting the breading. The easiest approach is to lightly mist the exposed chicken with water, or add about 1 teaspoon of water or low-sodium chicken stock to the bottom of a covered microwave-safe dish when using the microwave.
For oven or air-fryer reheating, do not pour liquid over the tenders. The breading needs a dry environment to crisp. If the meat is unusually dry, a thin brush of melted butter or a neutral cooking oil on the breading can help it brown and crisp, but use only enough to lightly coat the surface.
Step 3: Heat
For the best texture, use an air fryer at about 350-375°F or an oven at about 375°F. Heat the tenders in a single layer until the coating is crisp again and the center reaches 165°F. A properly revived tender should feel firm but not hard when pressed, with a crisp exterior and a hot, moist center. If the breading has browned well before the center reaches 165°F, lower the heat slightly and continue heating rather than letting the coating burn.
| Method | Cooking time | Temperature/setting | 1-2 tenders | 3-6 tenders | Instructions |
|---|---|---|---|---|---|
| Air fryer | 5-10 min | 350-375°F | Start checking at 5 min | Start checking at 7 min | Arrange in one layer; turn once if needed; heat until crisp and the center reaches 165°F. |
| Oven | 10-15 min | 375°F | Start checking at 10 min | Start checking at 12 min | Place on a rack or preheated baking sheet; avoid covering so steam does not soften the breading. |
| Microwave | 45-120 sec | High power | 20-30 sec bursts | 30-45 sec bursts | Add a small amount of water or stock to the covered dish; heat only until hot, then uncover immediately. Breading will be softer. |
| Skillet | 6-10 min | Medium-low | About 3-5 min per side | Work in batches | Add a thin film of oil; cover briefly to warm the center, then uncover to crisp the coating. |
Times vary with tender thickness, starting temperature, and appliance power. A food thermometer is the most reliable way to confirm that reheated chicken has reached 165°F throughout.
3 Simple Culinary Ideas To Repurpose Leftover Chicken Tenders
Turn Them Into Chicken Tacos
Slice the reheated tenders into strips and tuck them into warm tortillas with shredded lettuce, tomato, avocado, salsa, and a spoonful of plain yogurt or sour cream. Add the chicken at the last moment so the breading stays crisp. This works particularly well when the tenders are no longer crisp enough to serve on their own because the toppings turn the texture change into part of the dish.
Build A Crunchy Chicken Salad
Cut cold or reheated tenders into bite-size pieces and serve them over chopped lettuce, cabbage, cucumber, carrots, and tomatoes. Keep the chicken separate until serving, then add a sharp dressing such as ranch, honey mustard, or a simple lemon vinaigrette. For maximum crunch, reheat the chicken first and let it cool for a few minutes before slicing.
Make A Quick Chicken Sandwich
Reheat the tenders in an air fryer or oven, then place them on a toasted bun with lettuce and a sauce such as honey mustard, barbecue sauce, or a yogurt-based dressing. Add pickles for acidity and crunch. If the tenders are large, slice them horizontally so the sandwich is easier to eat and the sauce reaches more of the chicken.
Crisping Breaded Chicken Fingers And Patties
The most reliable way to restore breaded chicken naturally is to recreate the conditions that made the coating crisp during its original cooking: moderate dry heat, airflow, and limited exposure to steam. An air fryer is particularly effective because its circulating heat removes surface moisture while reheating the chicken quickly. A wire rack in a conventional oven produces a similar effect by allowing hot air to reach the underside instead of trapping moisture against a baking sheet.
Avoid wrapping breaded chicken tightly in foil during reheating. Foil traps steam, and steam softens the coating. Likewise, do not stack fingers or patties. Give each piece space. If the breading needs extra crispness, a very light coating of oil can improve browning, but adding a large amount of oil will make the coating greasy rather than crisp.
For patties, which are often thicker and denser than fingers, use slightly gentler heat for longer. This gives the center time to reach 165°F without scorching the exterior. For thin fingers, higher circulating heat for a shorter period usually works better. In both cases, stop heating as soon as the center is hot and the exterior has regained its crisp texture.
Food Safety
-
Cooling time: Refrigerate cooked chicken within 2 hours of cooking or serving, or within 1 hour when the surrounding temperature is above 90°F. Divide a large quantity into shallow containers so it cools more quickly instead of leaving a deep, hot container on the counter.
-
Airtight storage: Store chicken tenders in clean, airtight containers or tightly sealed food-storage bags. Refrigerate them at 40°F or below. Keeping the container sealed limits drying and prevents the chicken from absorbing odors from other foods.
-
Safe fridge days: Use refrigerated cooked chicken within 3-4 days. Reheat only the portion you plan to eat, and bring it to 165°F. If you will not use the chicken within that window, freeze it rather than extending its refrigerator storage.